7 Simple Steps of Fiberglass Pool Installation
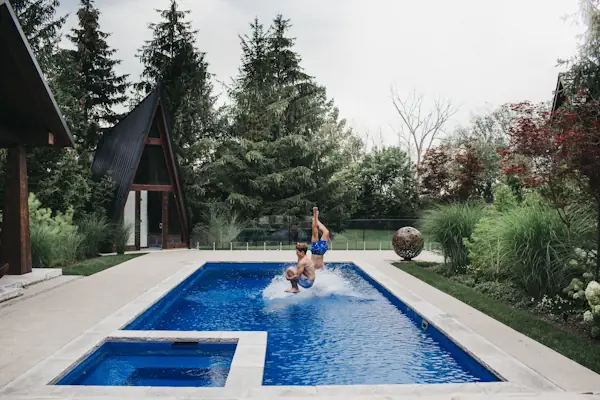
Leisure Pools Ultimate 35′ – Start to Finish! | Albert Group Pools & Patios
Have you ever wondered what is involved in a fiberglass pool installation?
At first glance, it may appear to be an incredibly complex project. Just think about it – a pre-engineered fiberglass structure must be transported from a Leisure Pools manufacturing facility to your backyard and placed permanently into an excavated hole, filled with water and connected to a filtration system that will keep it free from algae and contaminants.
While that may seem like a daunting task for most of us, the truth is that our dealers are experts at fiberglass pool installation. Most have years of experience installing dozens of inground pools in all kinds of backyard situations and have gotten the procedure down to a science.
But for those curious about what is involved, let’s detail the fiberglass inground pool installation steps:
- Installers work from a dig sheet accurate to less than an inch, so the excavation is engineered to fit the shell exactly instead of being corrected on the fly.
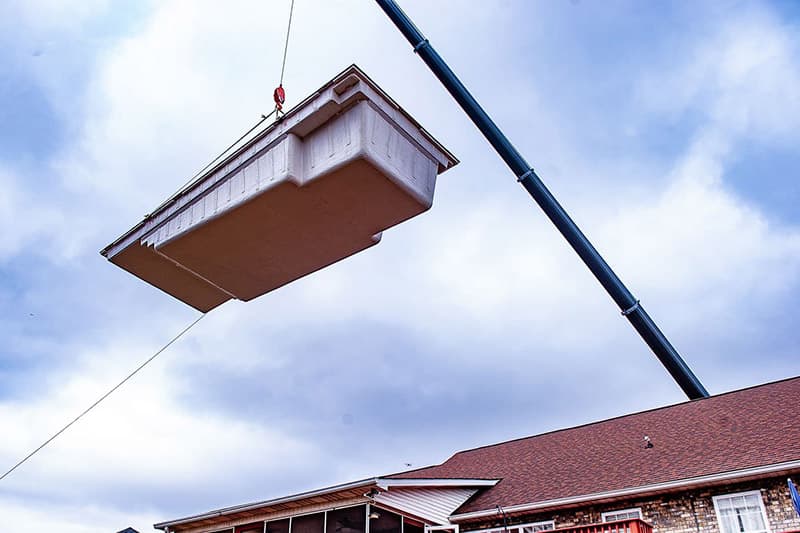
- The shell arrives in one piece and is craned into place in a single lift, cutting out weeks of forming, curing, and site disruption that come with concrete construction.
- Water is added while backfill goes in, keeping equal pressure on both sides of the shell and protecting the fiberglass walls during the most sensitive phase of the install.
- An 8-inch rebar-reinforced bond beam mechanically locks the shell in place and creates a rock-solid foundation for the coping and surrounding deck.
If installation complexity has been your excuse for waiting, fiberglass is the pool type most likely to make that excuse disappear.
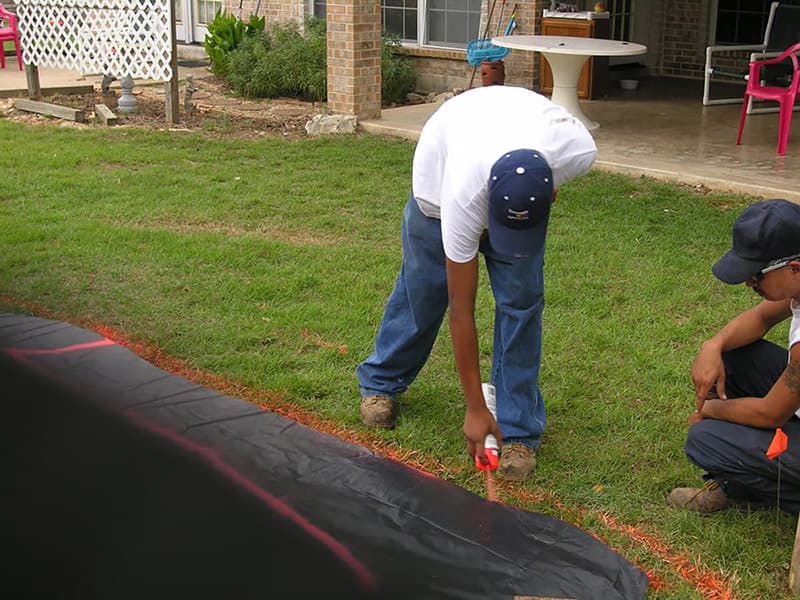
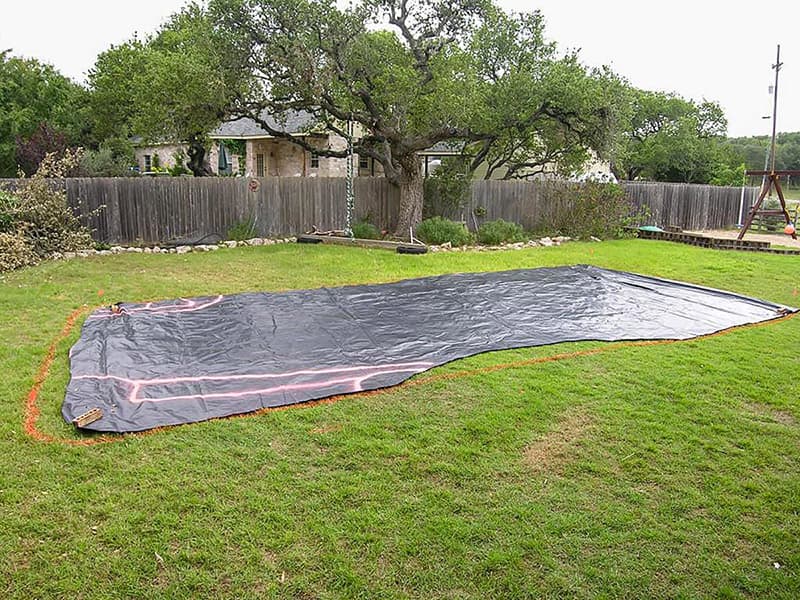
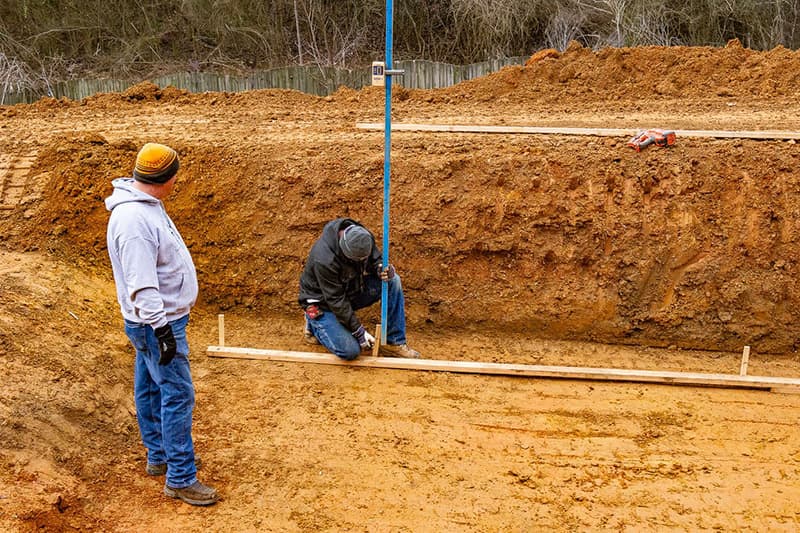
1. Laying Out the Pool
The installer will be provided with a dig sheet for the pool, which has measurements accurate to less than an inch for how the hole for the pool should be created to fit that specific model. Be sure to discuss placement of the pool and any landscaping wishes beforehand so that all may be considered before excavation begins. The installer will mark the placement of the pool in the yard at this step.
2. Excavation
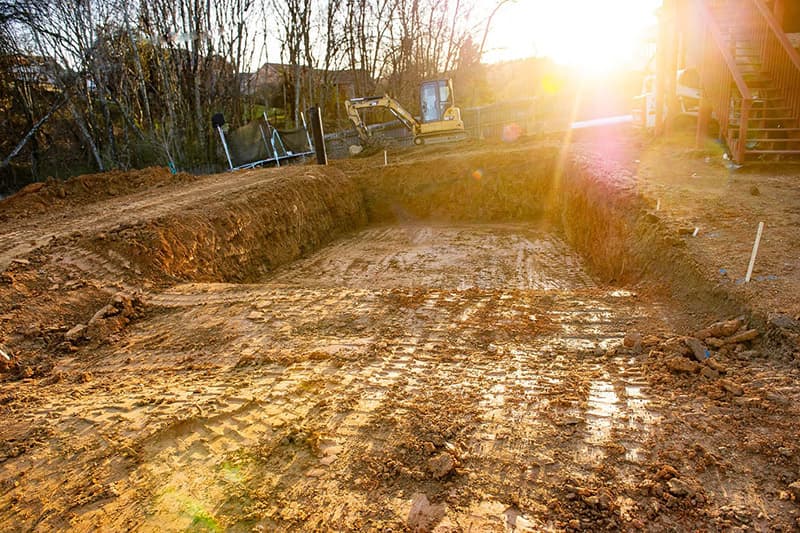

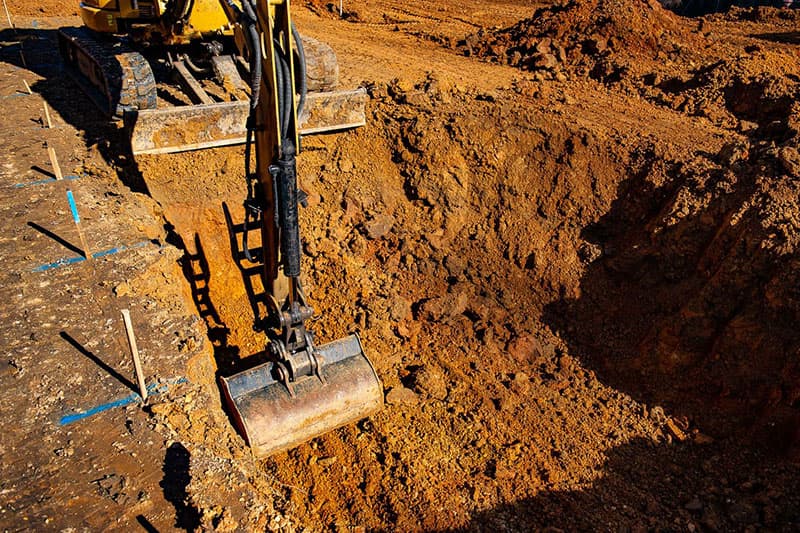
This is when it becomes real. As excavators and backhoes remove the grass and dirt, the installer will use the dig sheet to check levels of the hole as it is being dug. The dig sheet provides the measurements for the length, width, and depth. The installer digs the pool per these specs, with an adequate overdig to allow for necessary plumbing and accessories.
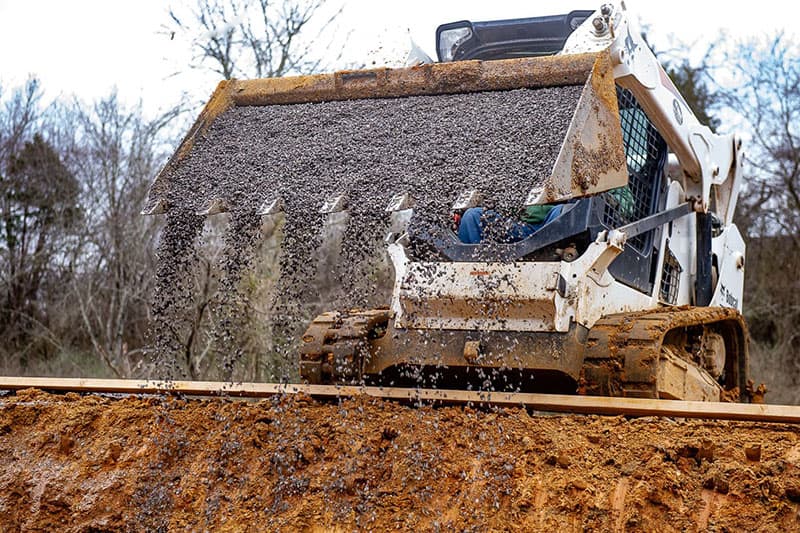
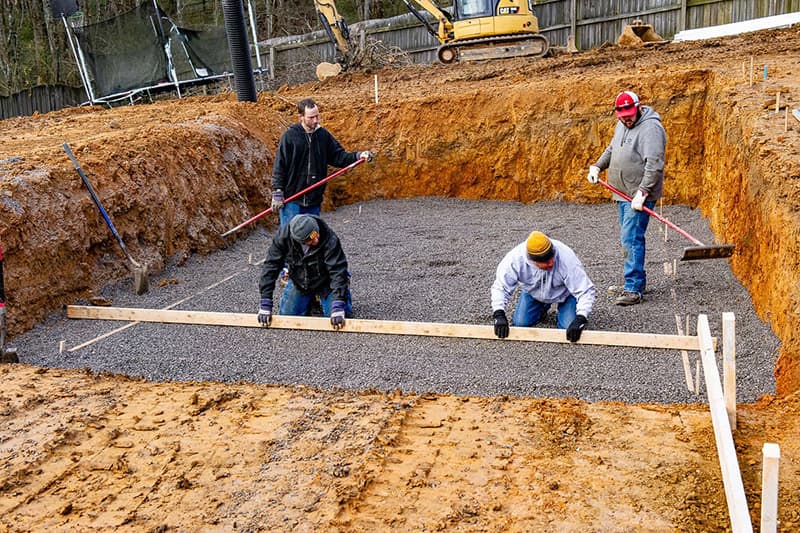
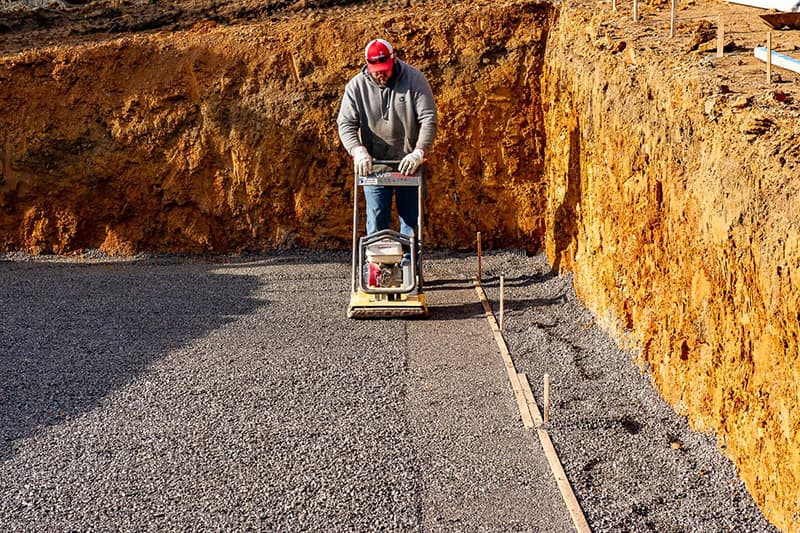
3. Setting the Floor
After excavation is completed, a bed of gravel is laid on the floor to give a base for the pool. Screed bars are set up as guides for the slope to make the screeding process simple. The gravel is then compacted to ensure that the floor is stable.
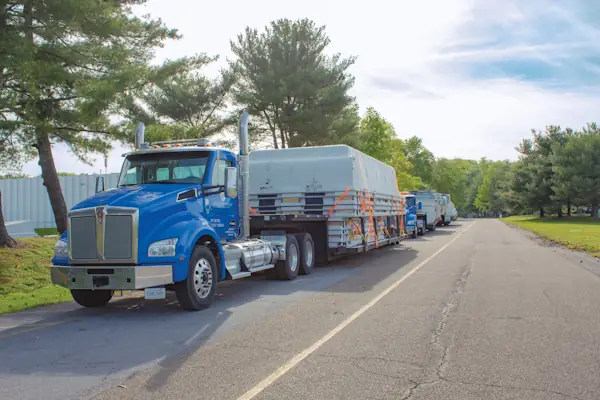
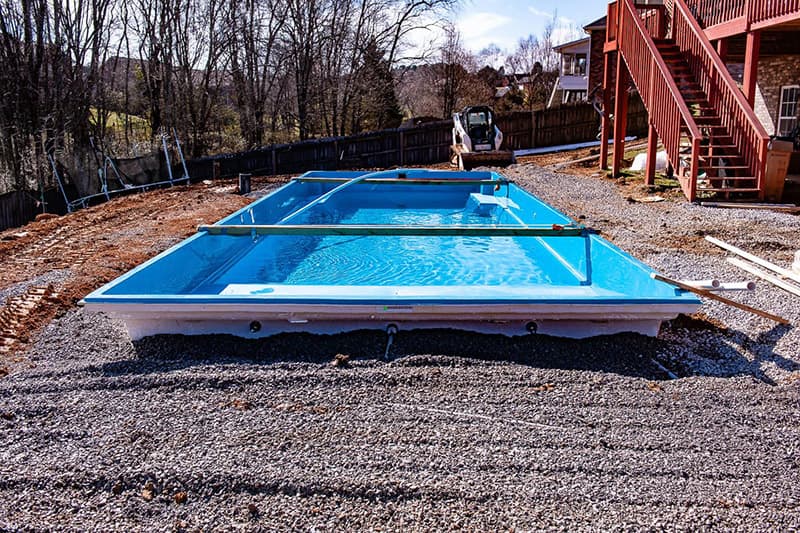
4. Pool Delivery and Placement
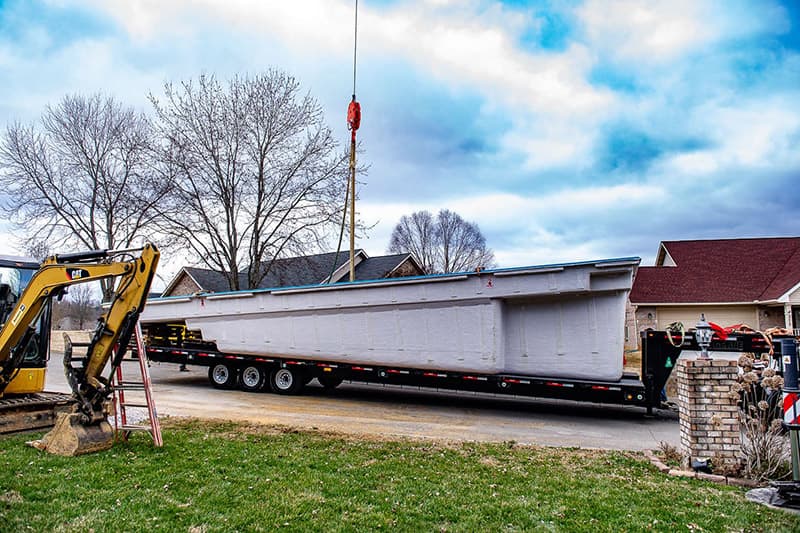
The fiberglass inground pool shell is delivered on a low trailer that is specifically designed to transport swimming pool shells. Along with your pool, the filtration equipment is delivered at this time.
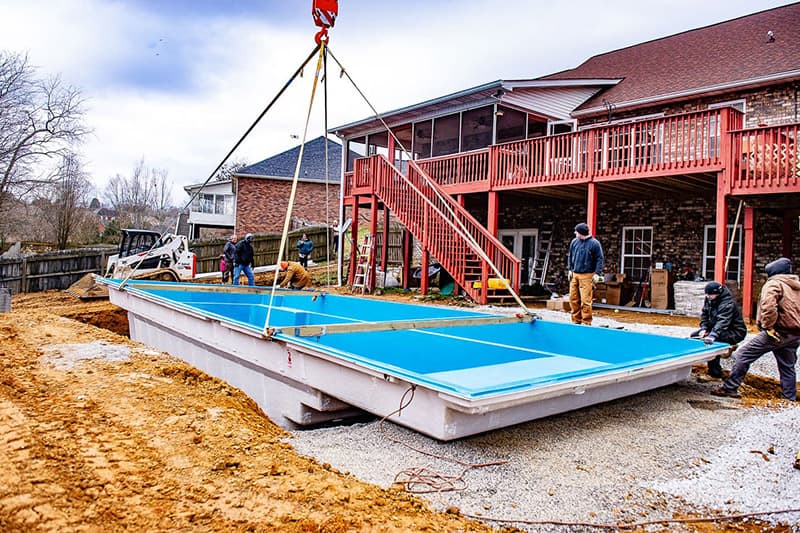
The pool is normally lifted into place by a crane. To ensure that access is feasible, your installer will typically visit the site before installation to evaluate an access plan or path. Once the pool has been lowered into the hole, all levels are checked to make sure that it is perfectly in place and ready to be plumbed and backfilled.
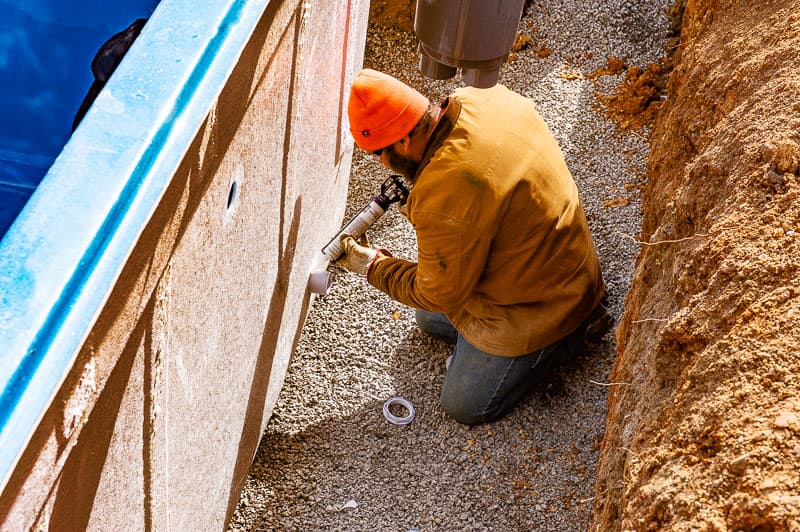
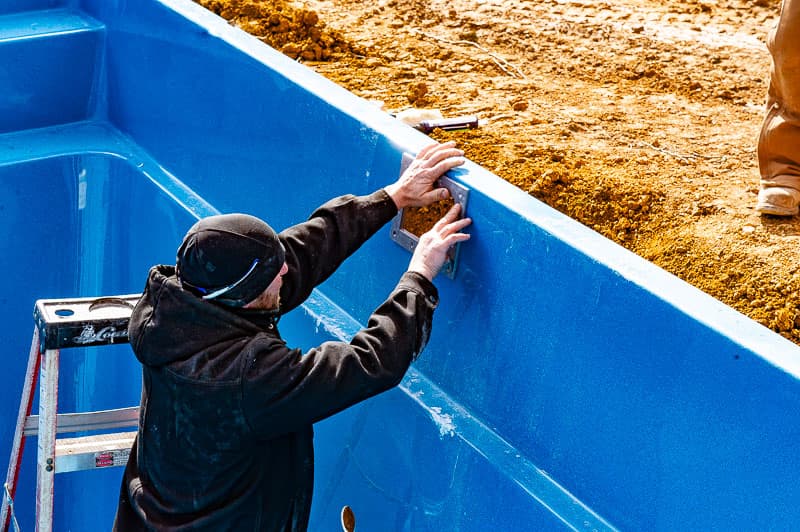
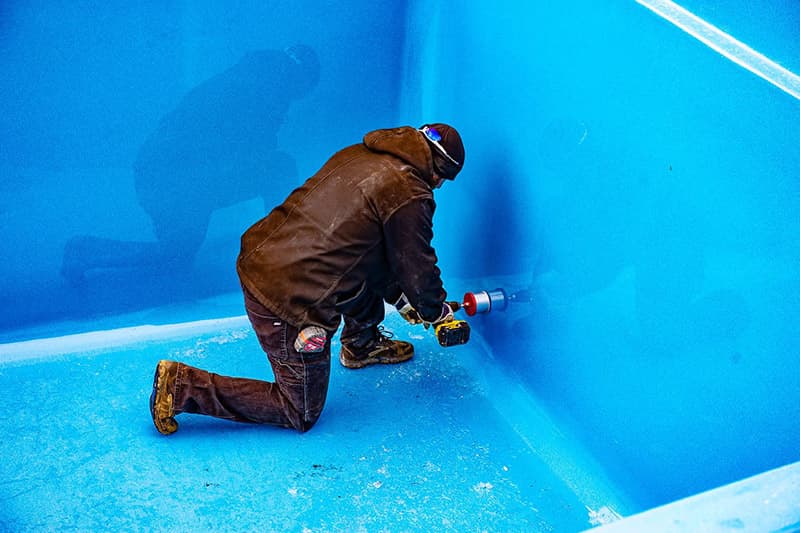
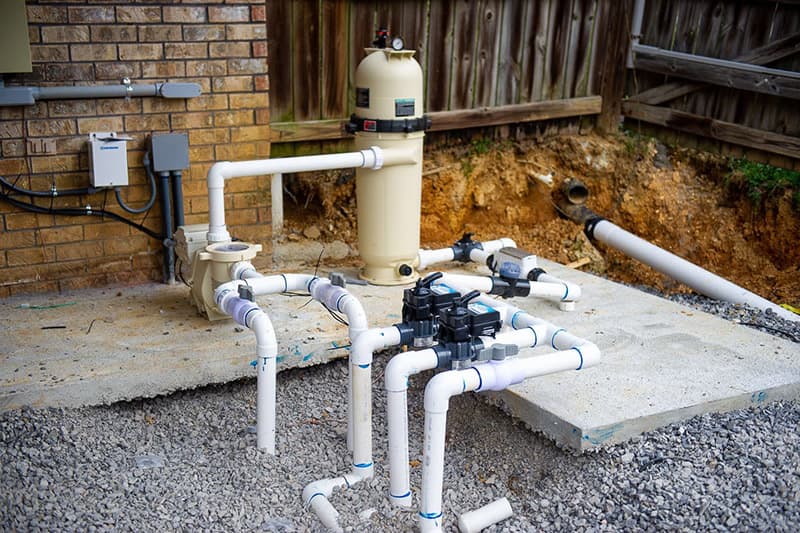
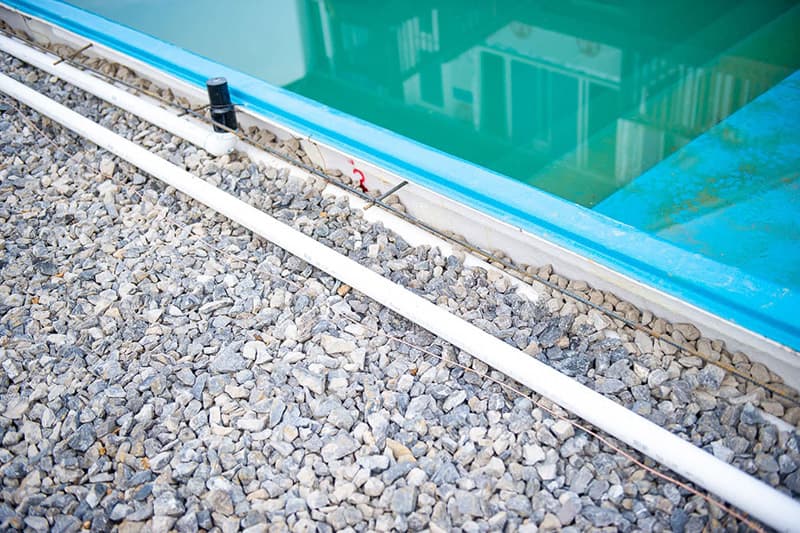
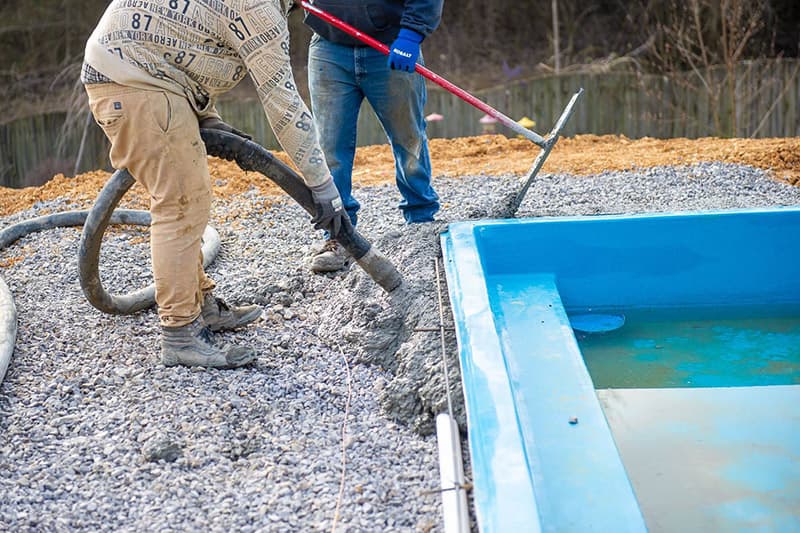
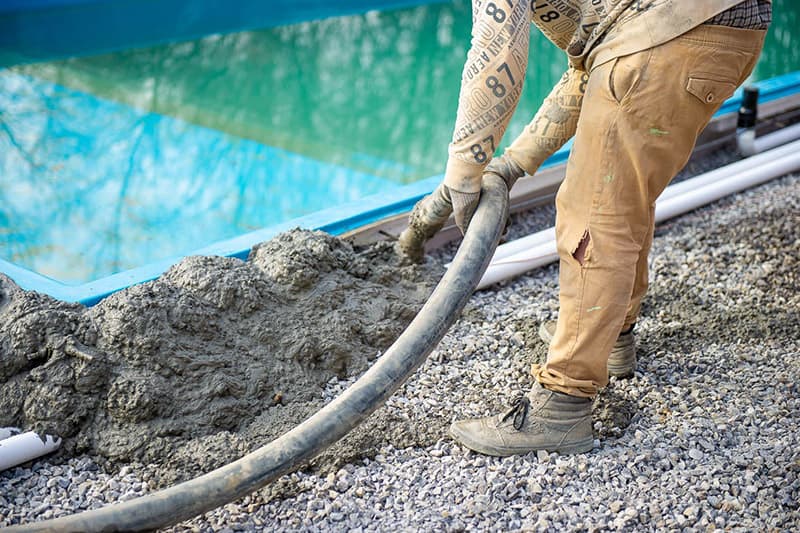
5. Plumbing and Backfilling
The basics of plumbing the pool include fitting a skimmer box, installing deep end suction fittings, and return fittings. PVC pipe is installed from these items to the pump and filter. We also recommend the installation of a groundwater access pipe/hydrostatic pressure release. After those steps are completed, the pump, filter, and optional salt system are installed. The backfill material which is typically used is gravel, but could also be a flowable backfill. The pool will be simultaneously filling with water while it is backfilled to provide equal pressure and stability on both sides of the fiberglass walls.
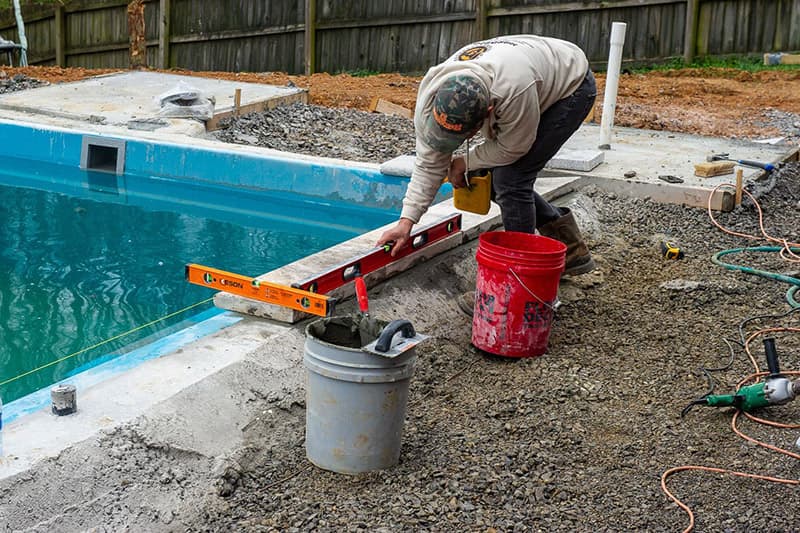
6. Reinforcement and Bond Beam
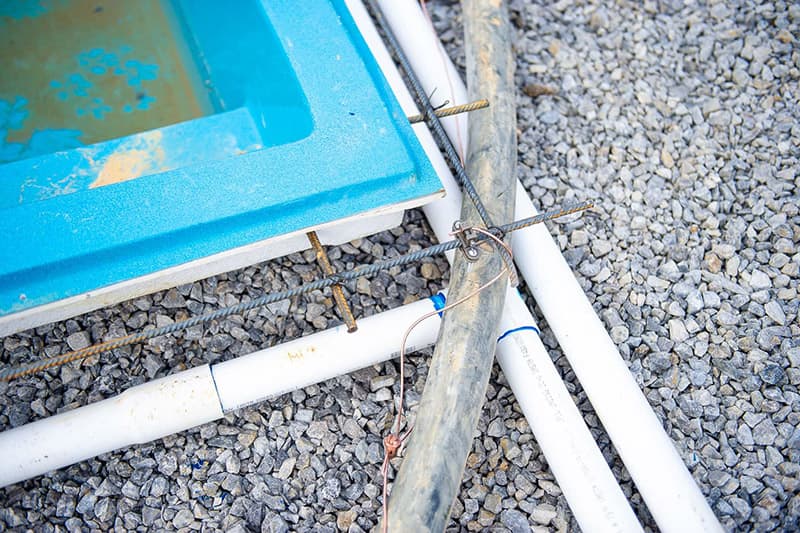
Once the pool is backfilled, re-enforcing rebar is attached to the perimeter of the pool for strength. After the rebar is bonded/grounded, concrete is poured approximately 8” thick around the perimeter, which creates a mechanical lock. This footing/bond beam makes the pool much stronger and gives stability to the coping finish, which comes in the next step.
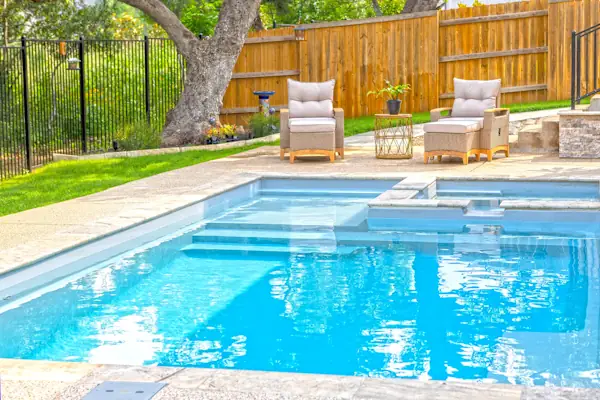
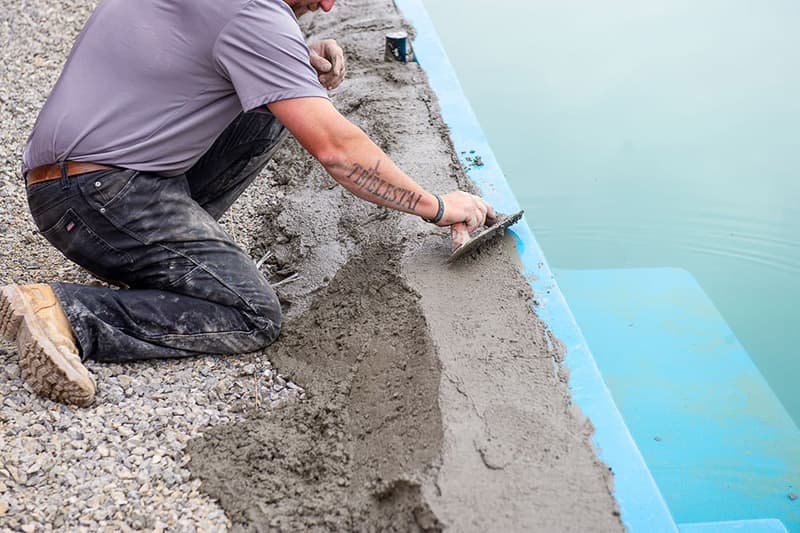
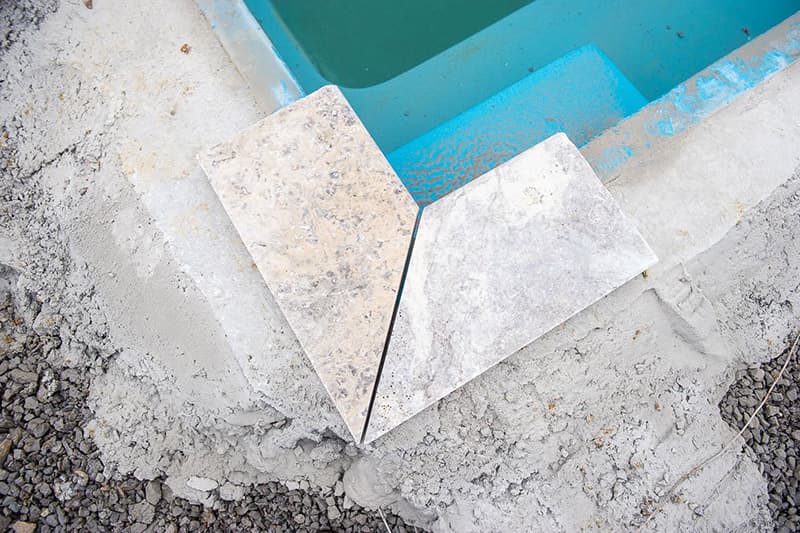
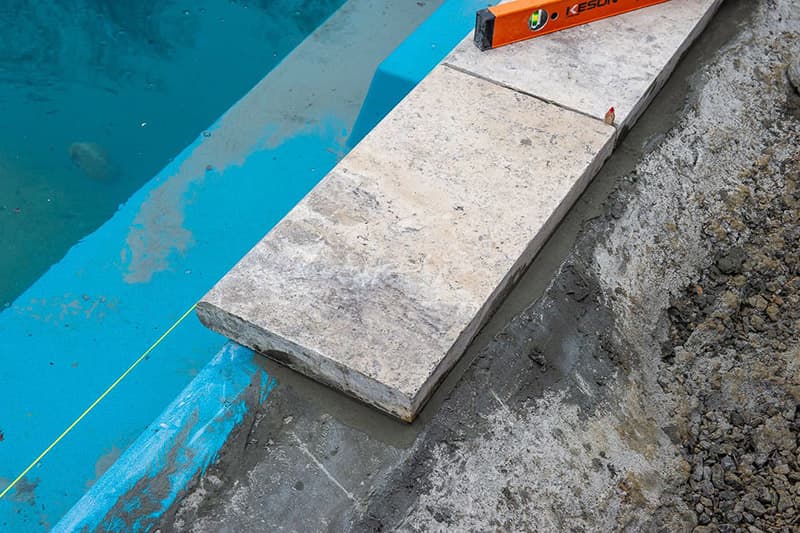
7. Coping and Deck
To enhance the beauty of the pool, many dealers fix pavers such as travertine to the top of the pool and bond beam. Once the paver coping is installed, the decking is finished, along with any landscaping and fencing.
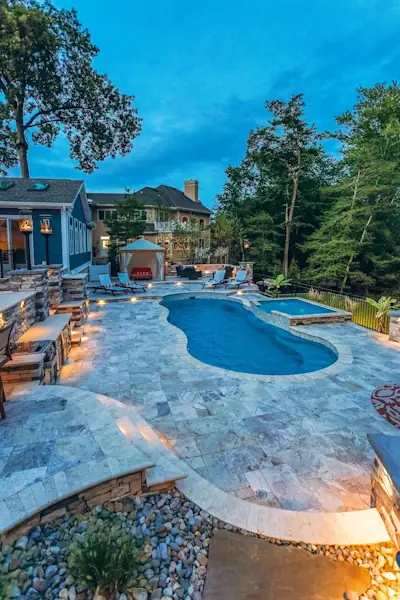
Your Leisure Pool is now completely installed, and your installer will ensure that the site is clean and will hand it over to you. They will go over basic operation procedures with you so that you can start swimming as soon as possible.

Fiberglass Pool Installation: Key Takeaways
The composite fiberglass pool installation process is relatively simple and quick, especially when compared to sometimes months of preparation involved with vinyl liner and gunite pools. It is possible, depending on the weather and schedule of your installer and landscaper, to go from an empty back yard to a fully finished swimming pool in a matter of days.
If you would be interested in making this experience a reality for your family, contact us and let us put you in touch with a Leisure Pools dealer in your area. In no time at all, you could have your own slice of paradise right in your own back yard.